
This How To…. illustrates some simple steps to carve a small spoon you can easily make when you are out and about.
I was training on campcraft in Crowborough (Ashdown Forest in the UK) recently and in between classes decided to carve this simple spoon. A nearby willow tree had been felled a few years ago and lots of shoots had re-grown from the stump.
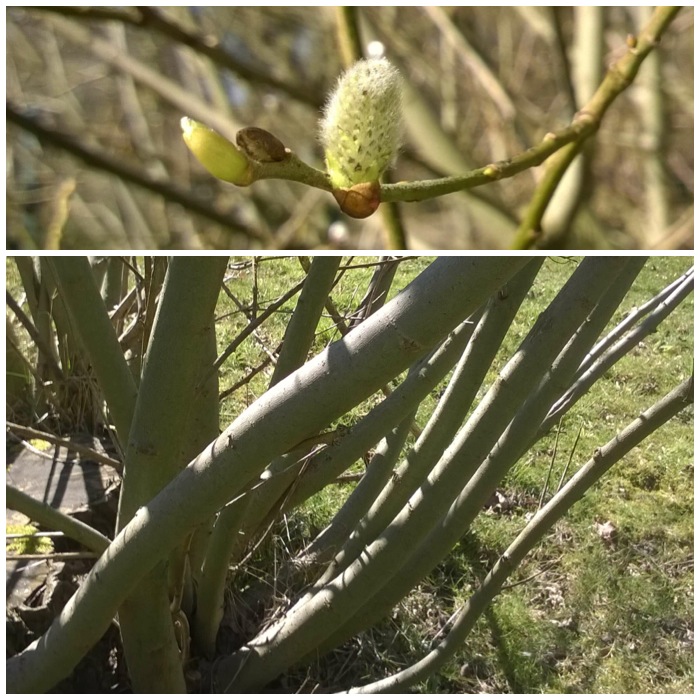
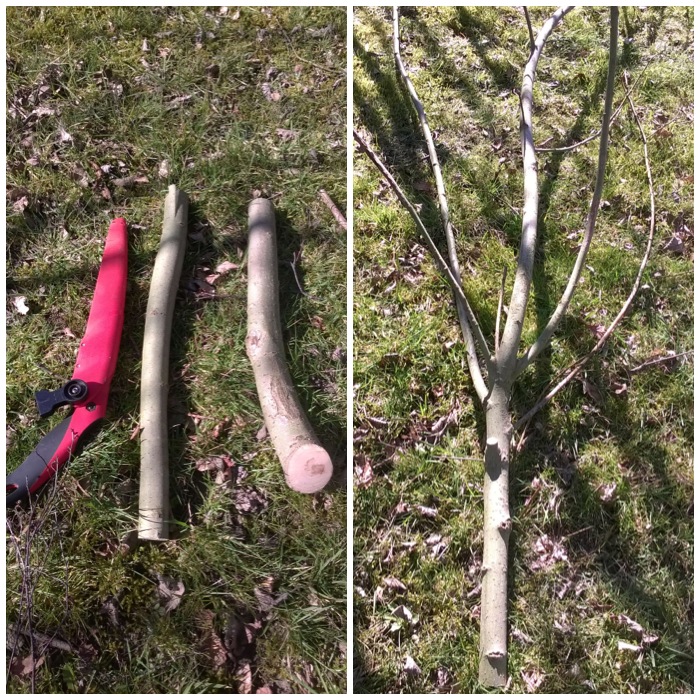
I selected a shoot and sawed it off near its base. Cutting the limb cleanly at the base will allow the tree to heal itself quickly and send out a replacement shoot the following year.
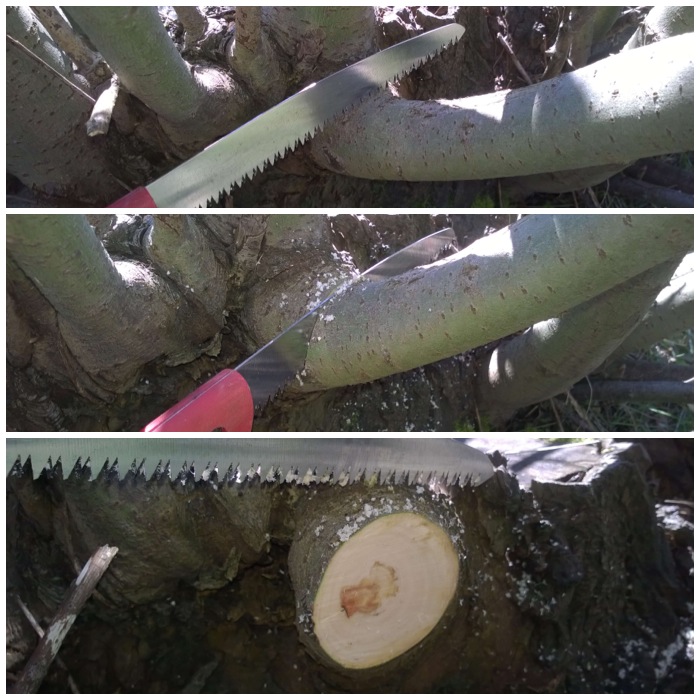
I selected the limb because of its curves, which help in making a strong spoon. I trimmed the limb in a safe position and used the live limbs as a vice to do the final sawing.
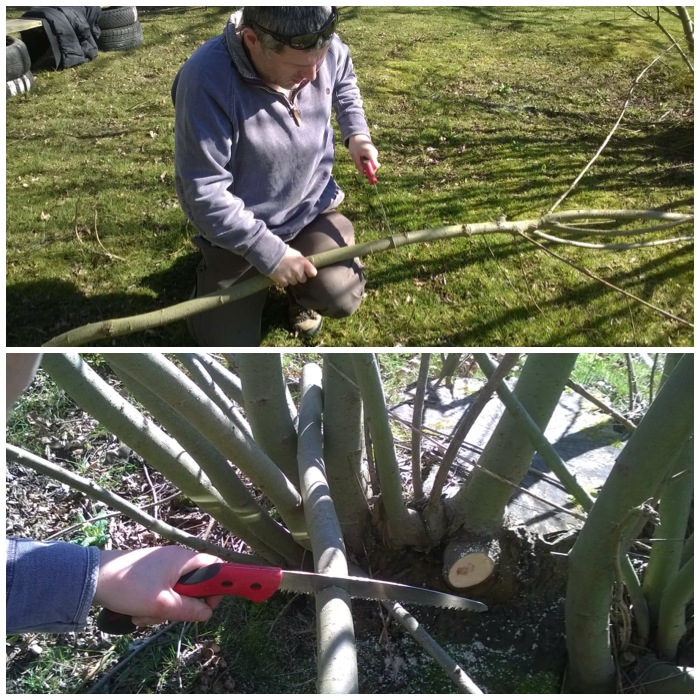
I took two pieces to make a couple of spoons and then trimmed off a couple of the smaller shoots from the top.
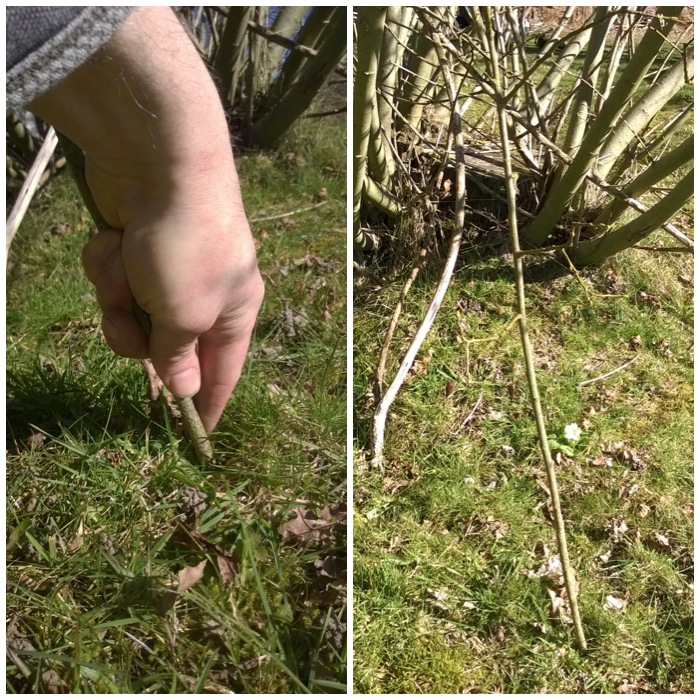
These smaller pieces I re-planted around the base of the tree by pushing them into the ground, as willow has the ability to re-grow from these shoots.
The next job was to strip off the outer and inner barks. I tried to strip the bark off in one piece but as the sap had not yet risen it was very difficult to do. If the bark had peeled off easily I could have made some nice cordage from it.
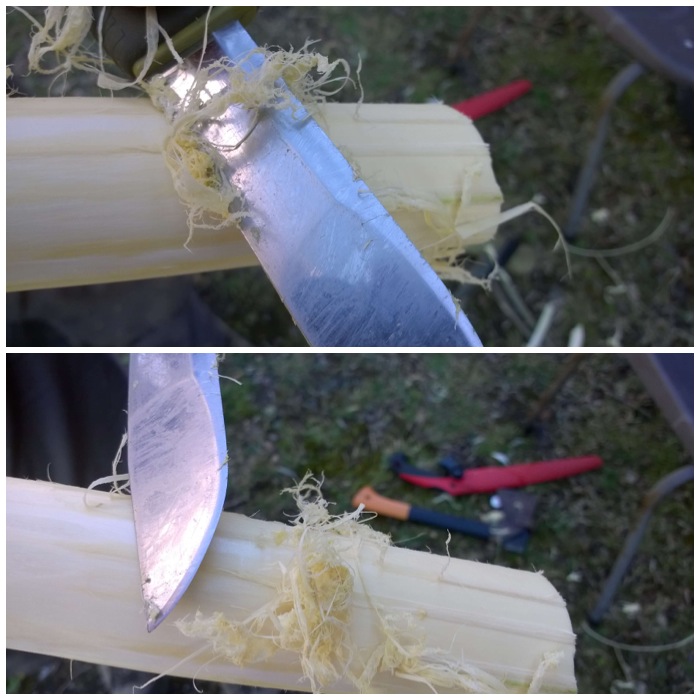
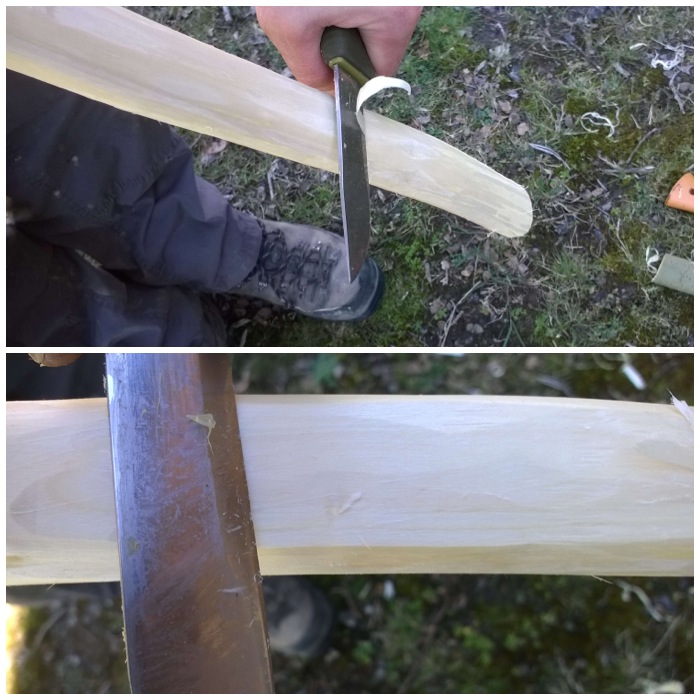
I used the back of my knife to scrape off the remnants of the inner bark to get right down to the wood.
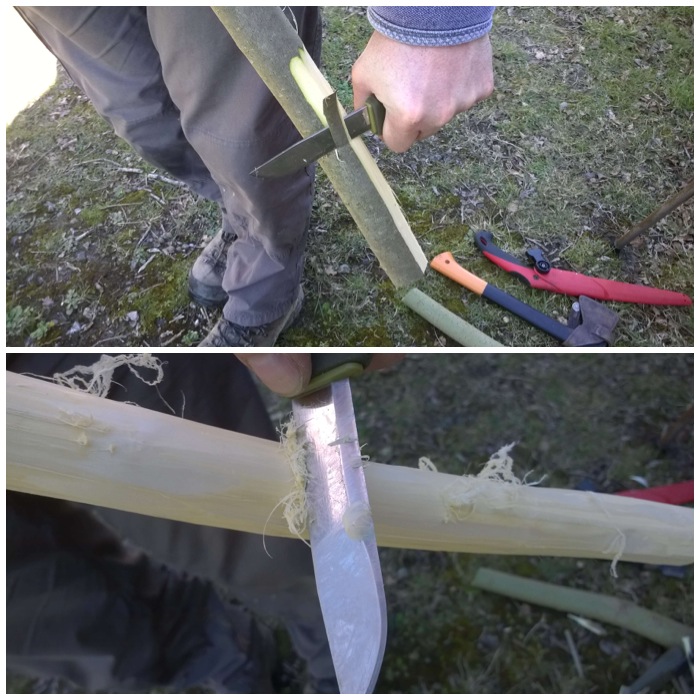
This inner bark does clog up on the back of the blade so you have to continually scrape it off. The whole process of stripping the bark took about 5 minutes.
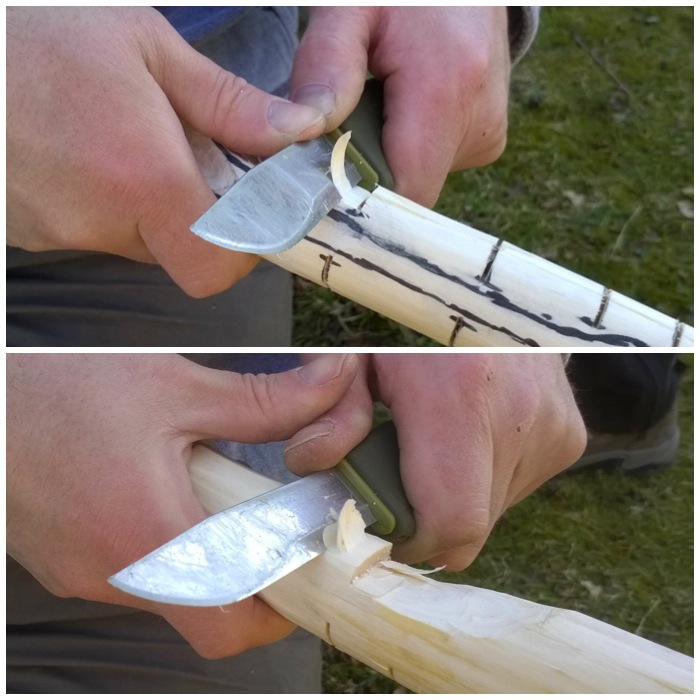
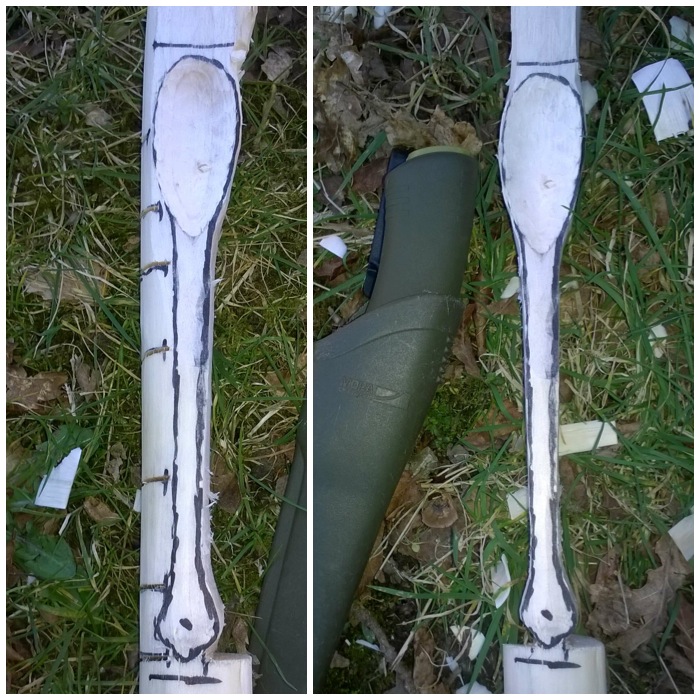
I flattened out the area of wood that would make the bowl of the spoon to give myself a little bit more area to work with.
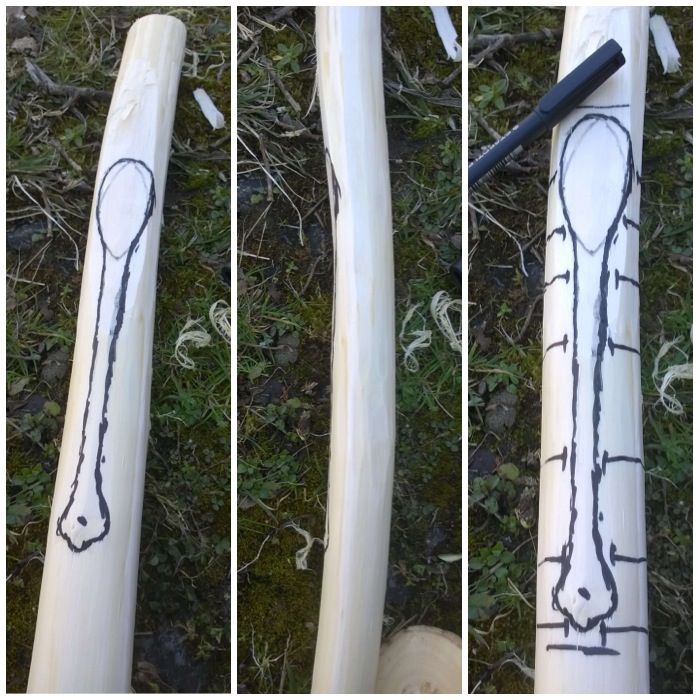
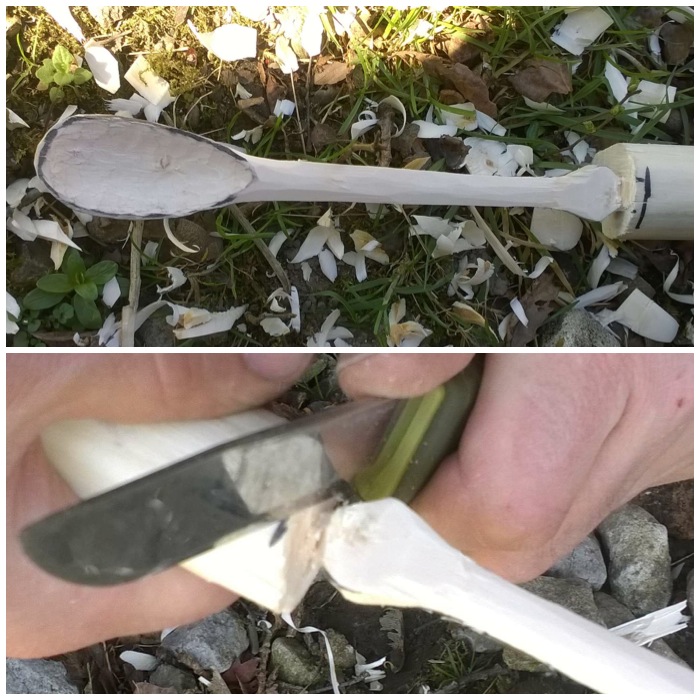
I like to draw out my spoon leaving areas of waste wood at each end as these act as handles when carving. Also, I prefer to carve the spoon from the top down as this cuts through many different rings thereby making the spoon stronger. I also mark out at this stage all the stop cuts I will need. (The technique of leaving handles to work with was taught to me by my good friend Mark Beer a few years ago and I find they are particularly useful when you are teaching novices.)
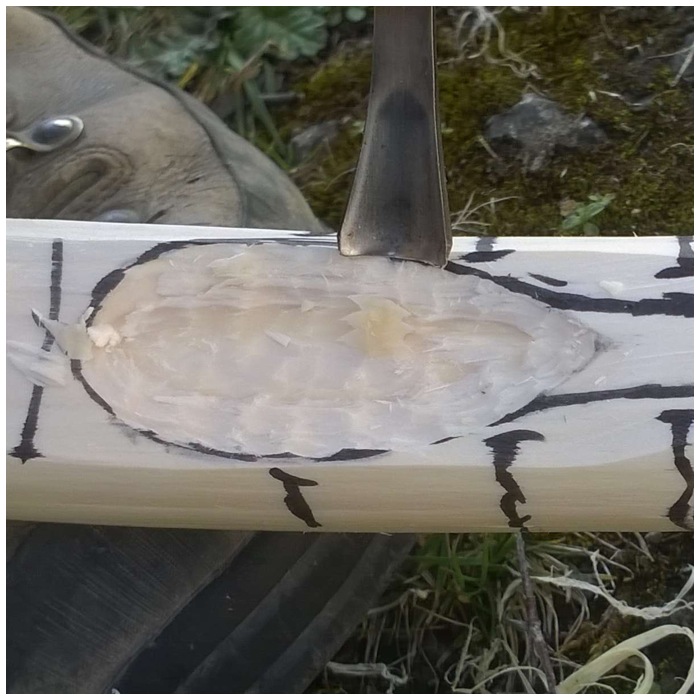
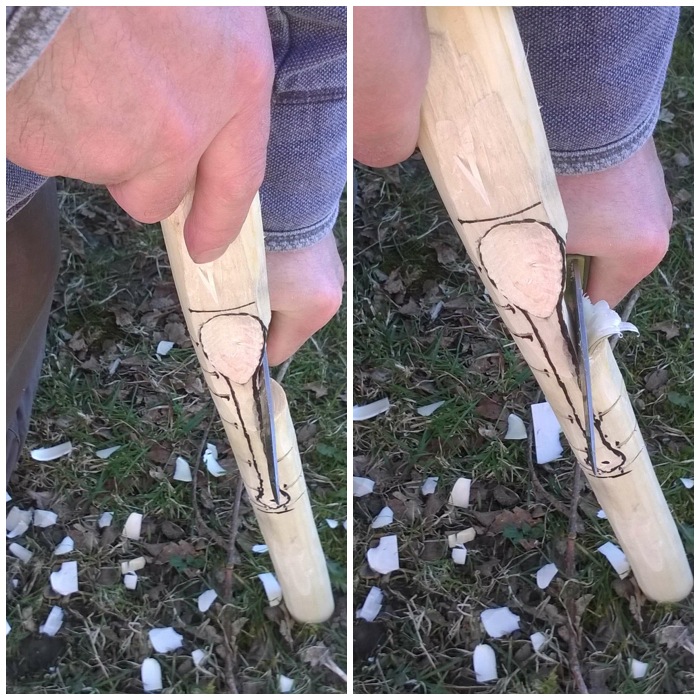
I like to carve the bowl of the spoon first. To do this job I usually use a palm gouge (on the left) and a crook knife (on the right).
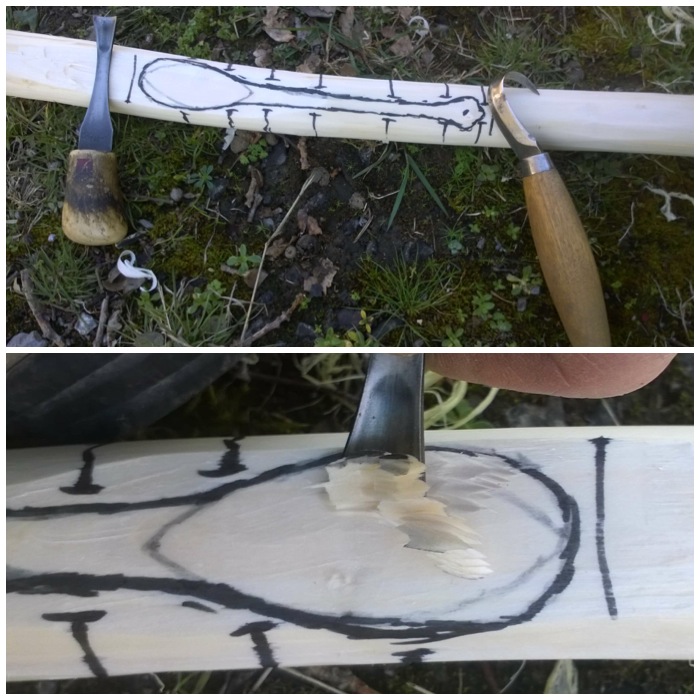
I use the palm gouge first, tracking around the edge of the bowl to cut out the waste. Having the two handles in the wood means I can use the same hand to do this (I am left-handed). They also allow me to keep my other hand well away from the sharp edge of the gouge.
The gouge makes short work of the waste wood but it does not leave a smooth surface.
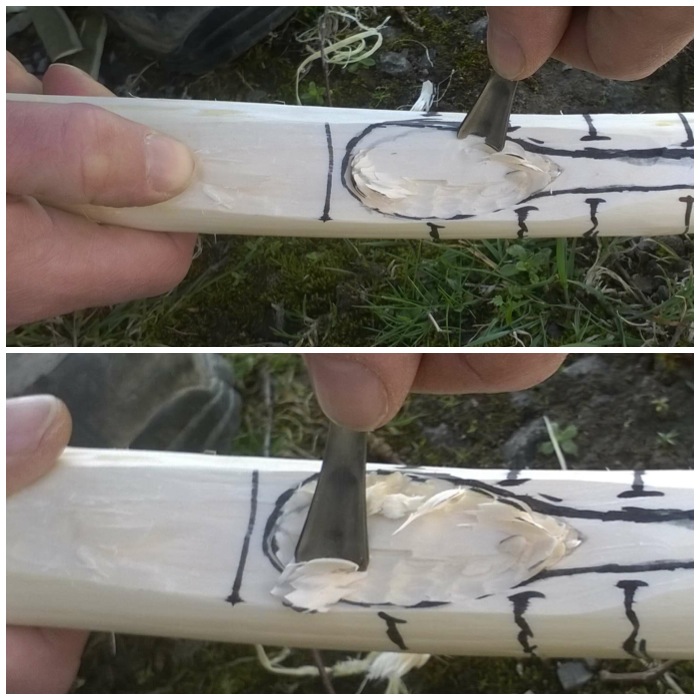
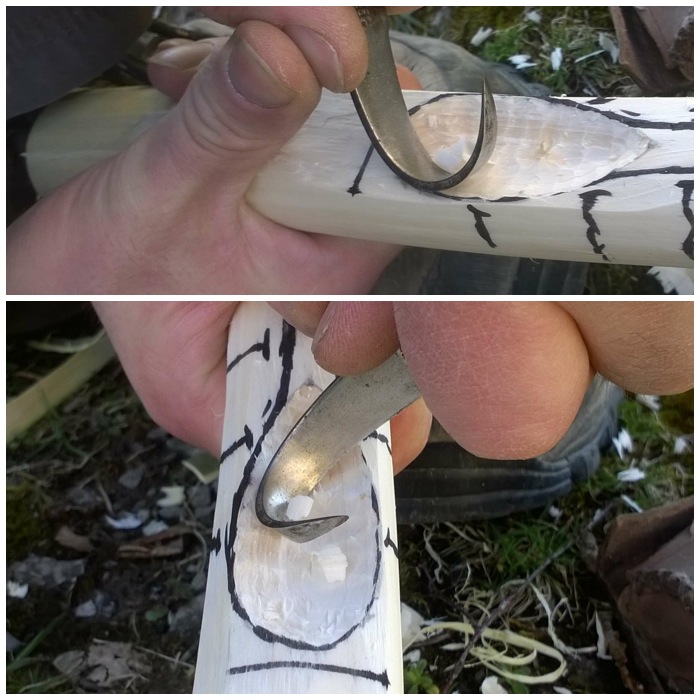
To smooth the bowl out a bit more I usually switch to the crook knife. I find that the crook knife helps to accentuate the curve of the bowl more than the gouge does. With both tools I always try and cut across the grain of the wood but this is not always possible near the ends so I need to be extra careful there not to lose wood on the edges.
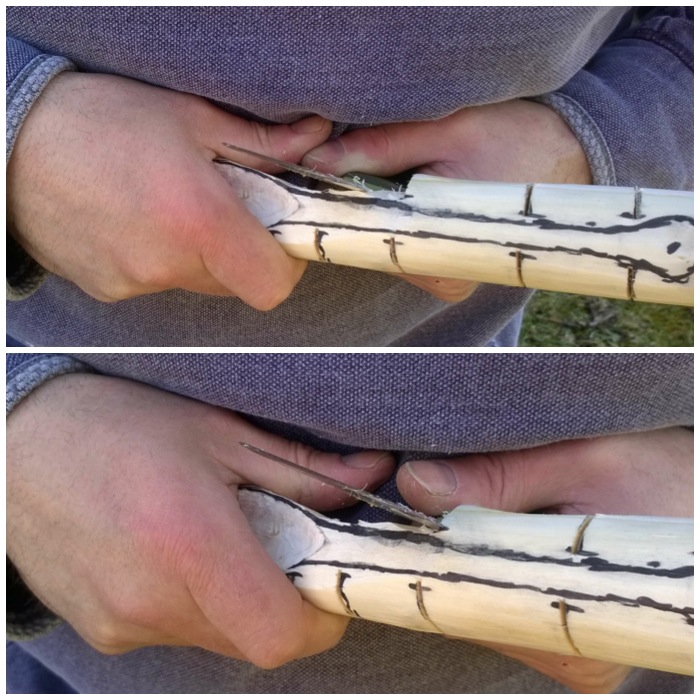
After the bowl is roughed out I saw all the stop cuts. These stop cuts help to stop splits occurring in the wood as I carve the rest of the waste wood away.
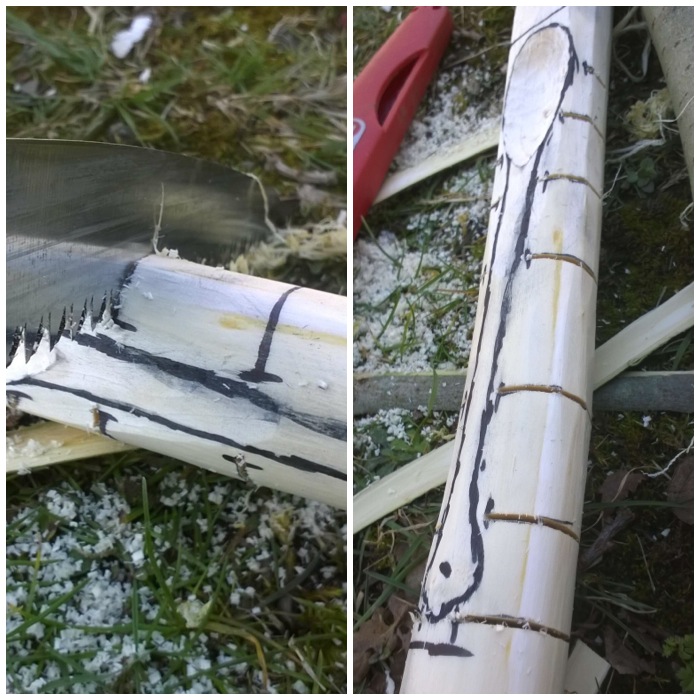
Stop cuts are particularly important when carving around the bowl; they act like small breaking points for the knife edge, stopping splits occurring.
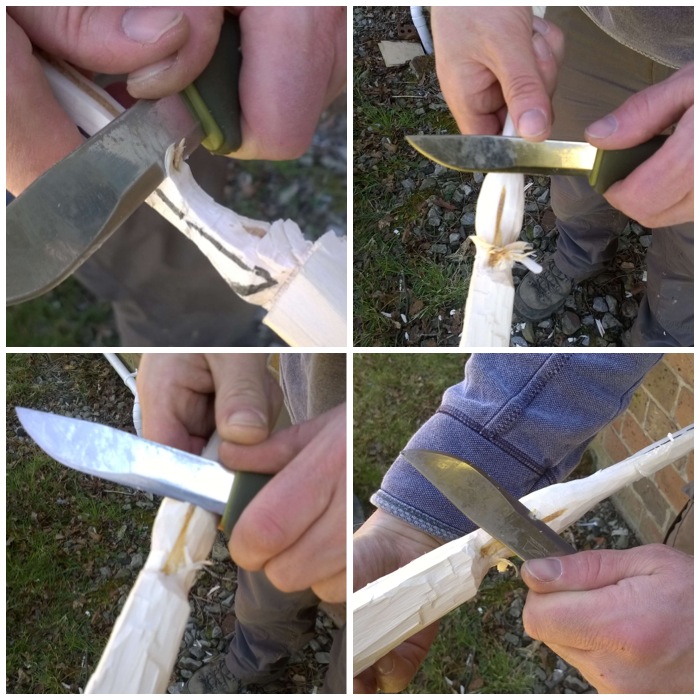
I take my time at this stage and make small cuts to remove each piece of waste wood between the stop cuts. In these two pictures I am using my thumbs on the back of the blade to apply pressure. You can push either with both thumbs on the back of the blade or with one thumb on top of the other.
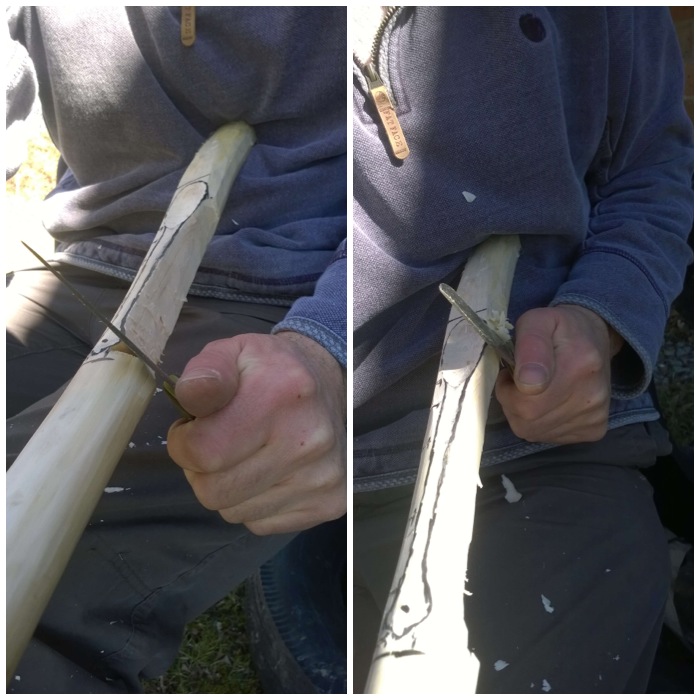
When I am on a straight section like the handle I tend to use the chest lever grip. This is a very controlled and powerful cut. I have my hands tight against me and use my chest muscles to push my hands apart. This pushes the knife edge into the wood in small, controlled but powerful cuts.
Another cut that can be used here is the shoulder cut. With the work piece off to your side and the bottom of it on a log or on the ground (if the handle at the bottom is long enough), keep your arm locked straight and push down with your shoulder muscles to cut into the excess wood. You can cut big or very fine pieces with this technique.
I learnt this technique from Mors Kochanski when he was over in the UK at the BCUK Bushmoot a few years ago. I pushed one end of the work piece (perfect when you have these handles on each end) and then, using the knife like a draw knife, cut slivers of wood towards me. This is one of the few cuts where the blade comes towards you. The key to this technique is to keep the arm that is holding the work piece bent and well away from the knife tip. Also the arm that is holding the knife is clamped against my side which stops any big movements. If my knife were to slip with this technique the blade would actually only move a few centimeters.
Using these techniques I quickly removed the waste wood around the spoon.
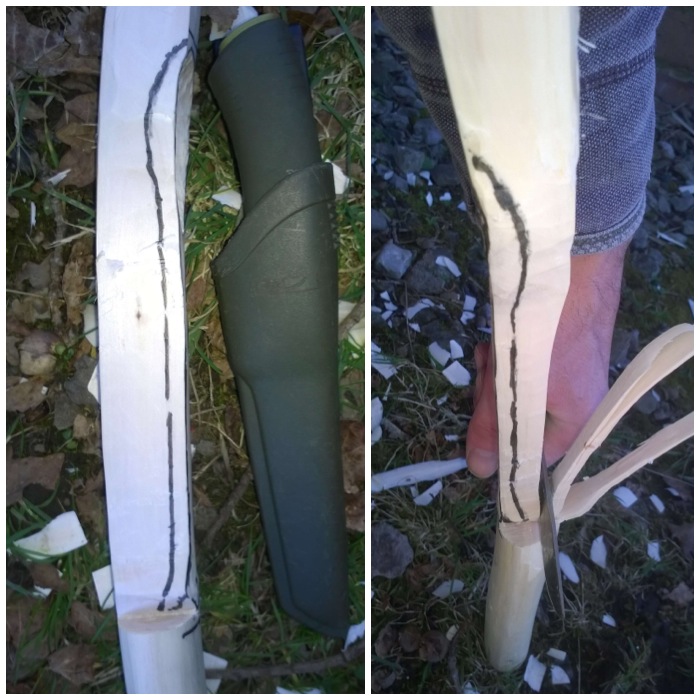
I then marked out the side of the spoon and started to remove the waste wood using the shoulder cut. I could have put stop cuts in at this stage but decided not to as there was not much curve to the spoon on this plane.
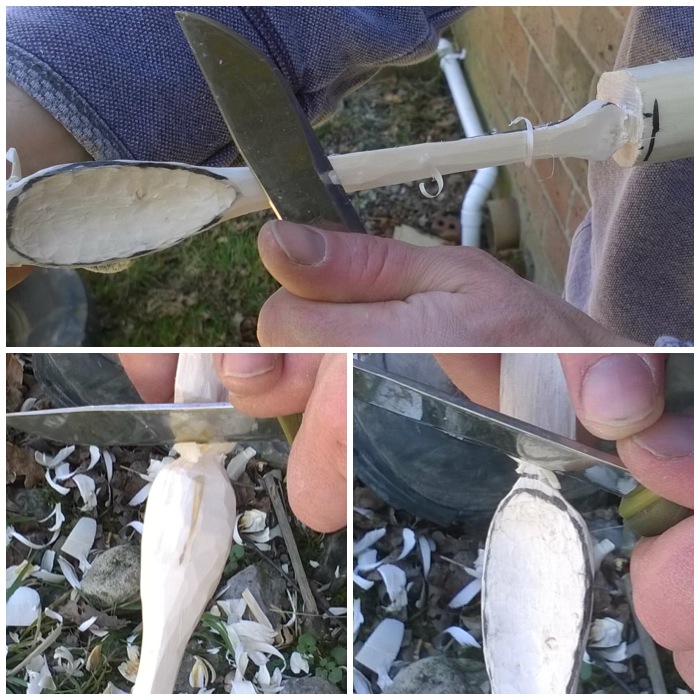
Finishing the tail and the bowl requires a lot of fine work. You have to find how the grain of the wood is flowing and just chip away at it with small cuts to form your final shape.
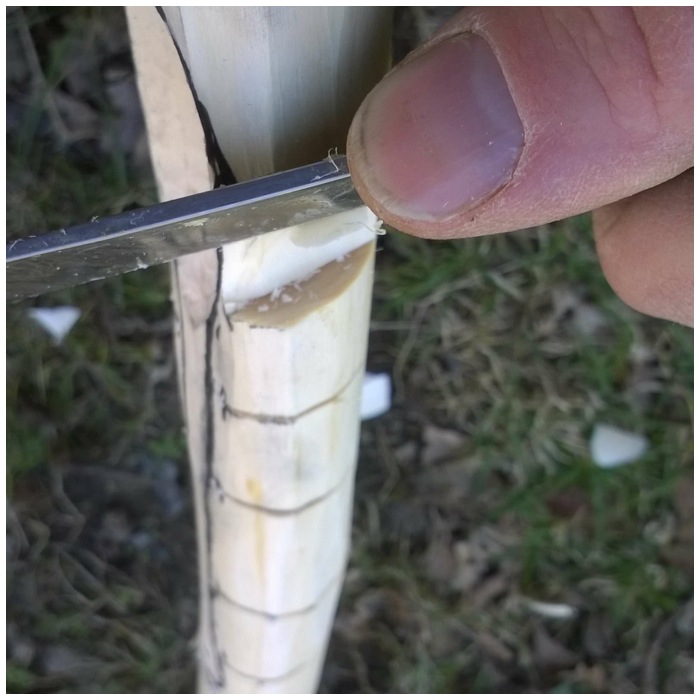
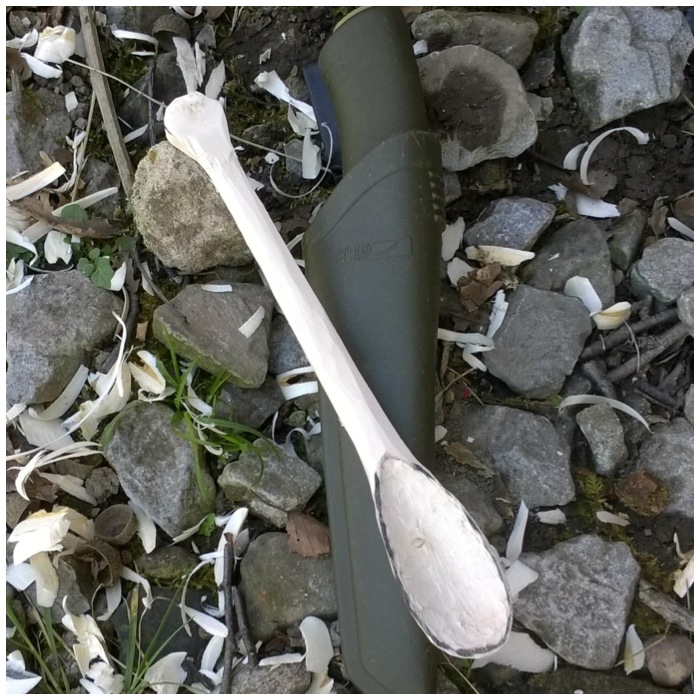
After some final work on the handle of the spoon I slowly carved around the tip of the bowl to remove one of the working handles. Take your time with this so that you get down to the last few fibres of wood before twisting the handle off. Any big cuts here can damage the bowl.
I then repeated the whole process at the other end to remove the other working handle.
The wood was green so full of moisture. Normally I would dry the wood slowly for a few weeks before sanding it down. Sanding green wood can be hard work and no matter how smooth you get it you will need to repeat the process in a few days as small fibres of wood will start to rise up again, giving the spoon a furry texture.
I accept that when making these spoons as I normally want to use it straight away. Ideally I should have used a piece of seasoned wood so that this would not happen but you sometimes have to use what is available. I left the spoon to dry out for a couple of days before sanding it down.
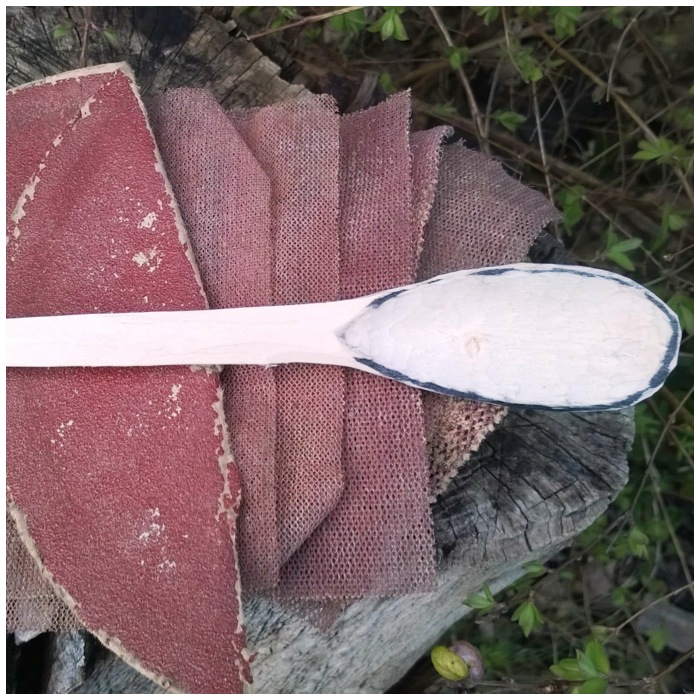
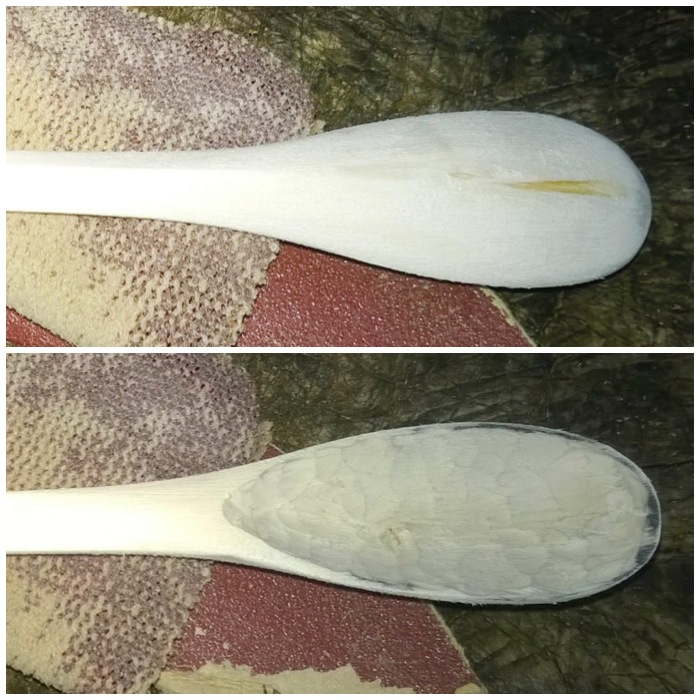
I used sandpaper of different grades and luckily have some cloth sandpaper that works well when sanding the bowl out.
I used the rough sandpaper first and you can see in these pictures how the fibres of the wood are being ripped out here rather than being sanded smooth. All the sandpaper is doing at this stage is flattening out the tool marks.
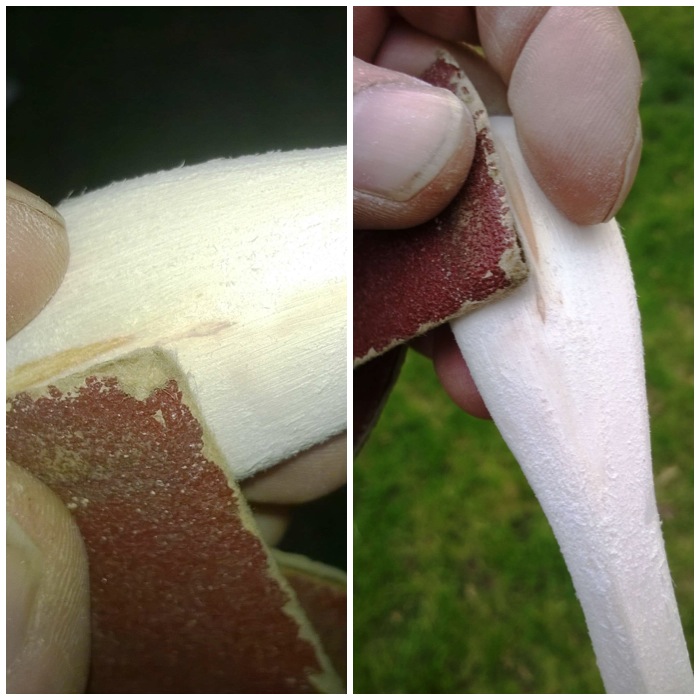
Eventually the spoon started to take on a more smooth appearance. The bottom picture shows the bowl untouched but the handle is now smoother.
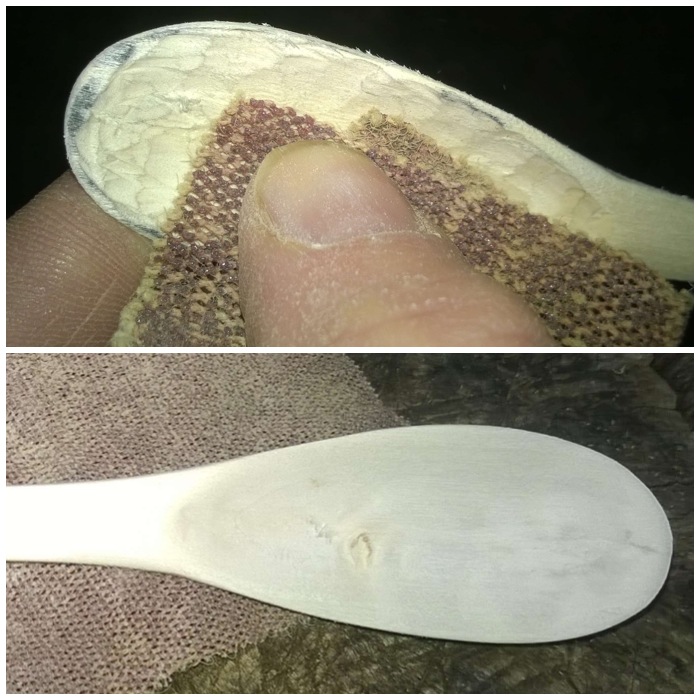
The cloth sandpaper is ideal for getting into the bowl and smoothing it out. I like this sandpaper as it does not break apart in the bowl as traditional paper-backed sandpaper tends to.
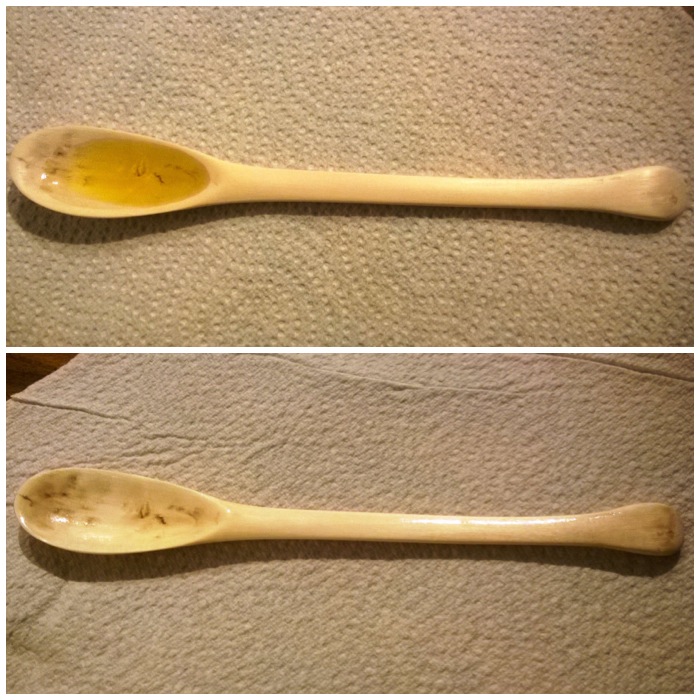
After sanding the spoon down using a mixture of grades from rough to very fine (about a half hour’s work) I added some oil to the spoon. I generally use vegetable oil as that is what I usually have in my cooking kit when out in the woods.
After the first coating had soaked in I applied a second coating and left the spoon to dry out.
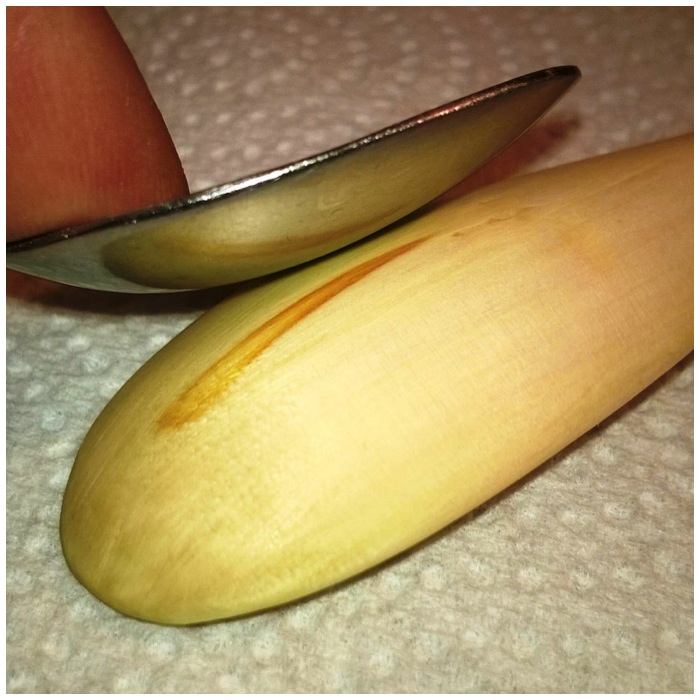
I like to add a finishing touch by boning the spoon. You can do this with the back of a spoon, a rounded pebble or with a rounded piece of bone. I rub the spoon with the rounded surface in a circular motion covering the whole of the surface area of the spoon. I normally do this for an hour or so as this seals the fibres of the wood down and adds a beautiful shine to the spoon.
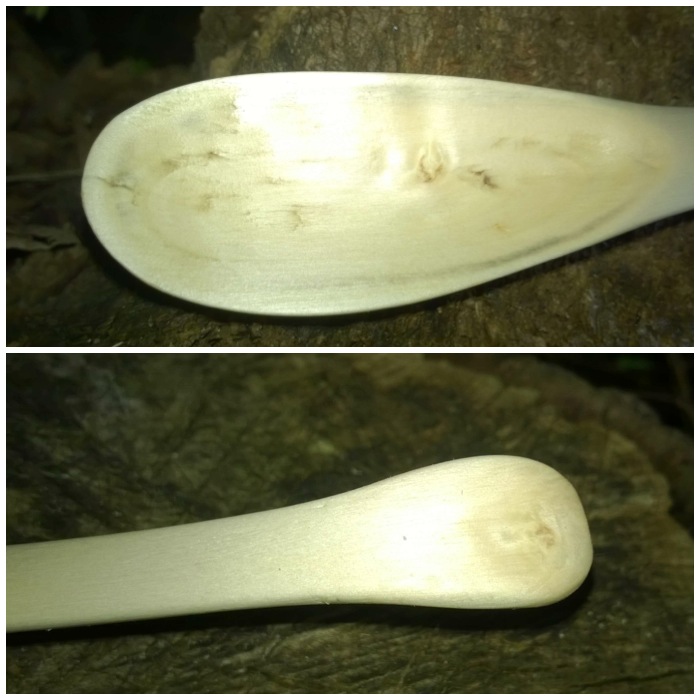
This spoon will need to be re-sanded, oiled and boned again in a few weeks as the fibres rise up as it dries out. You can see that the bowl is not perfectly smooth and there are slight imperfections in it. Hopefully these will disappear with that second sanding but for now it is a spoon I can use.
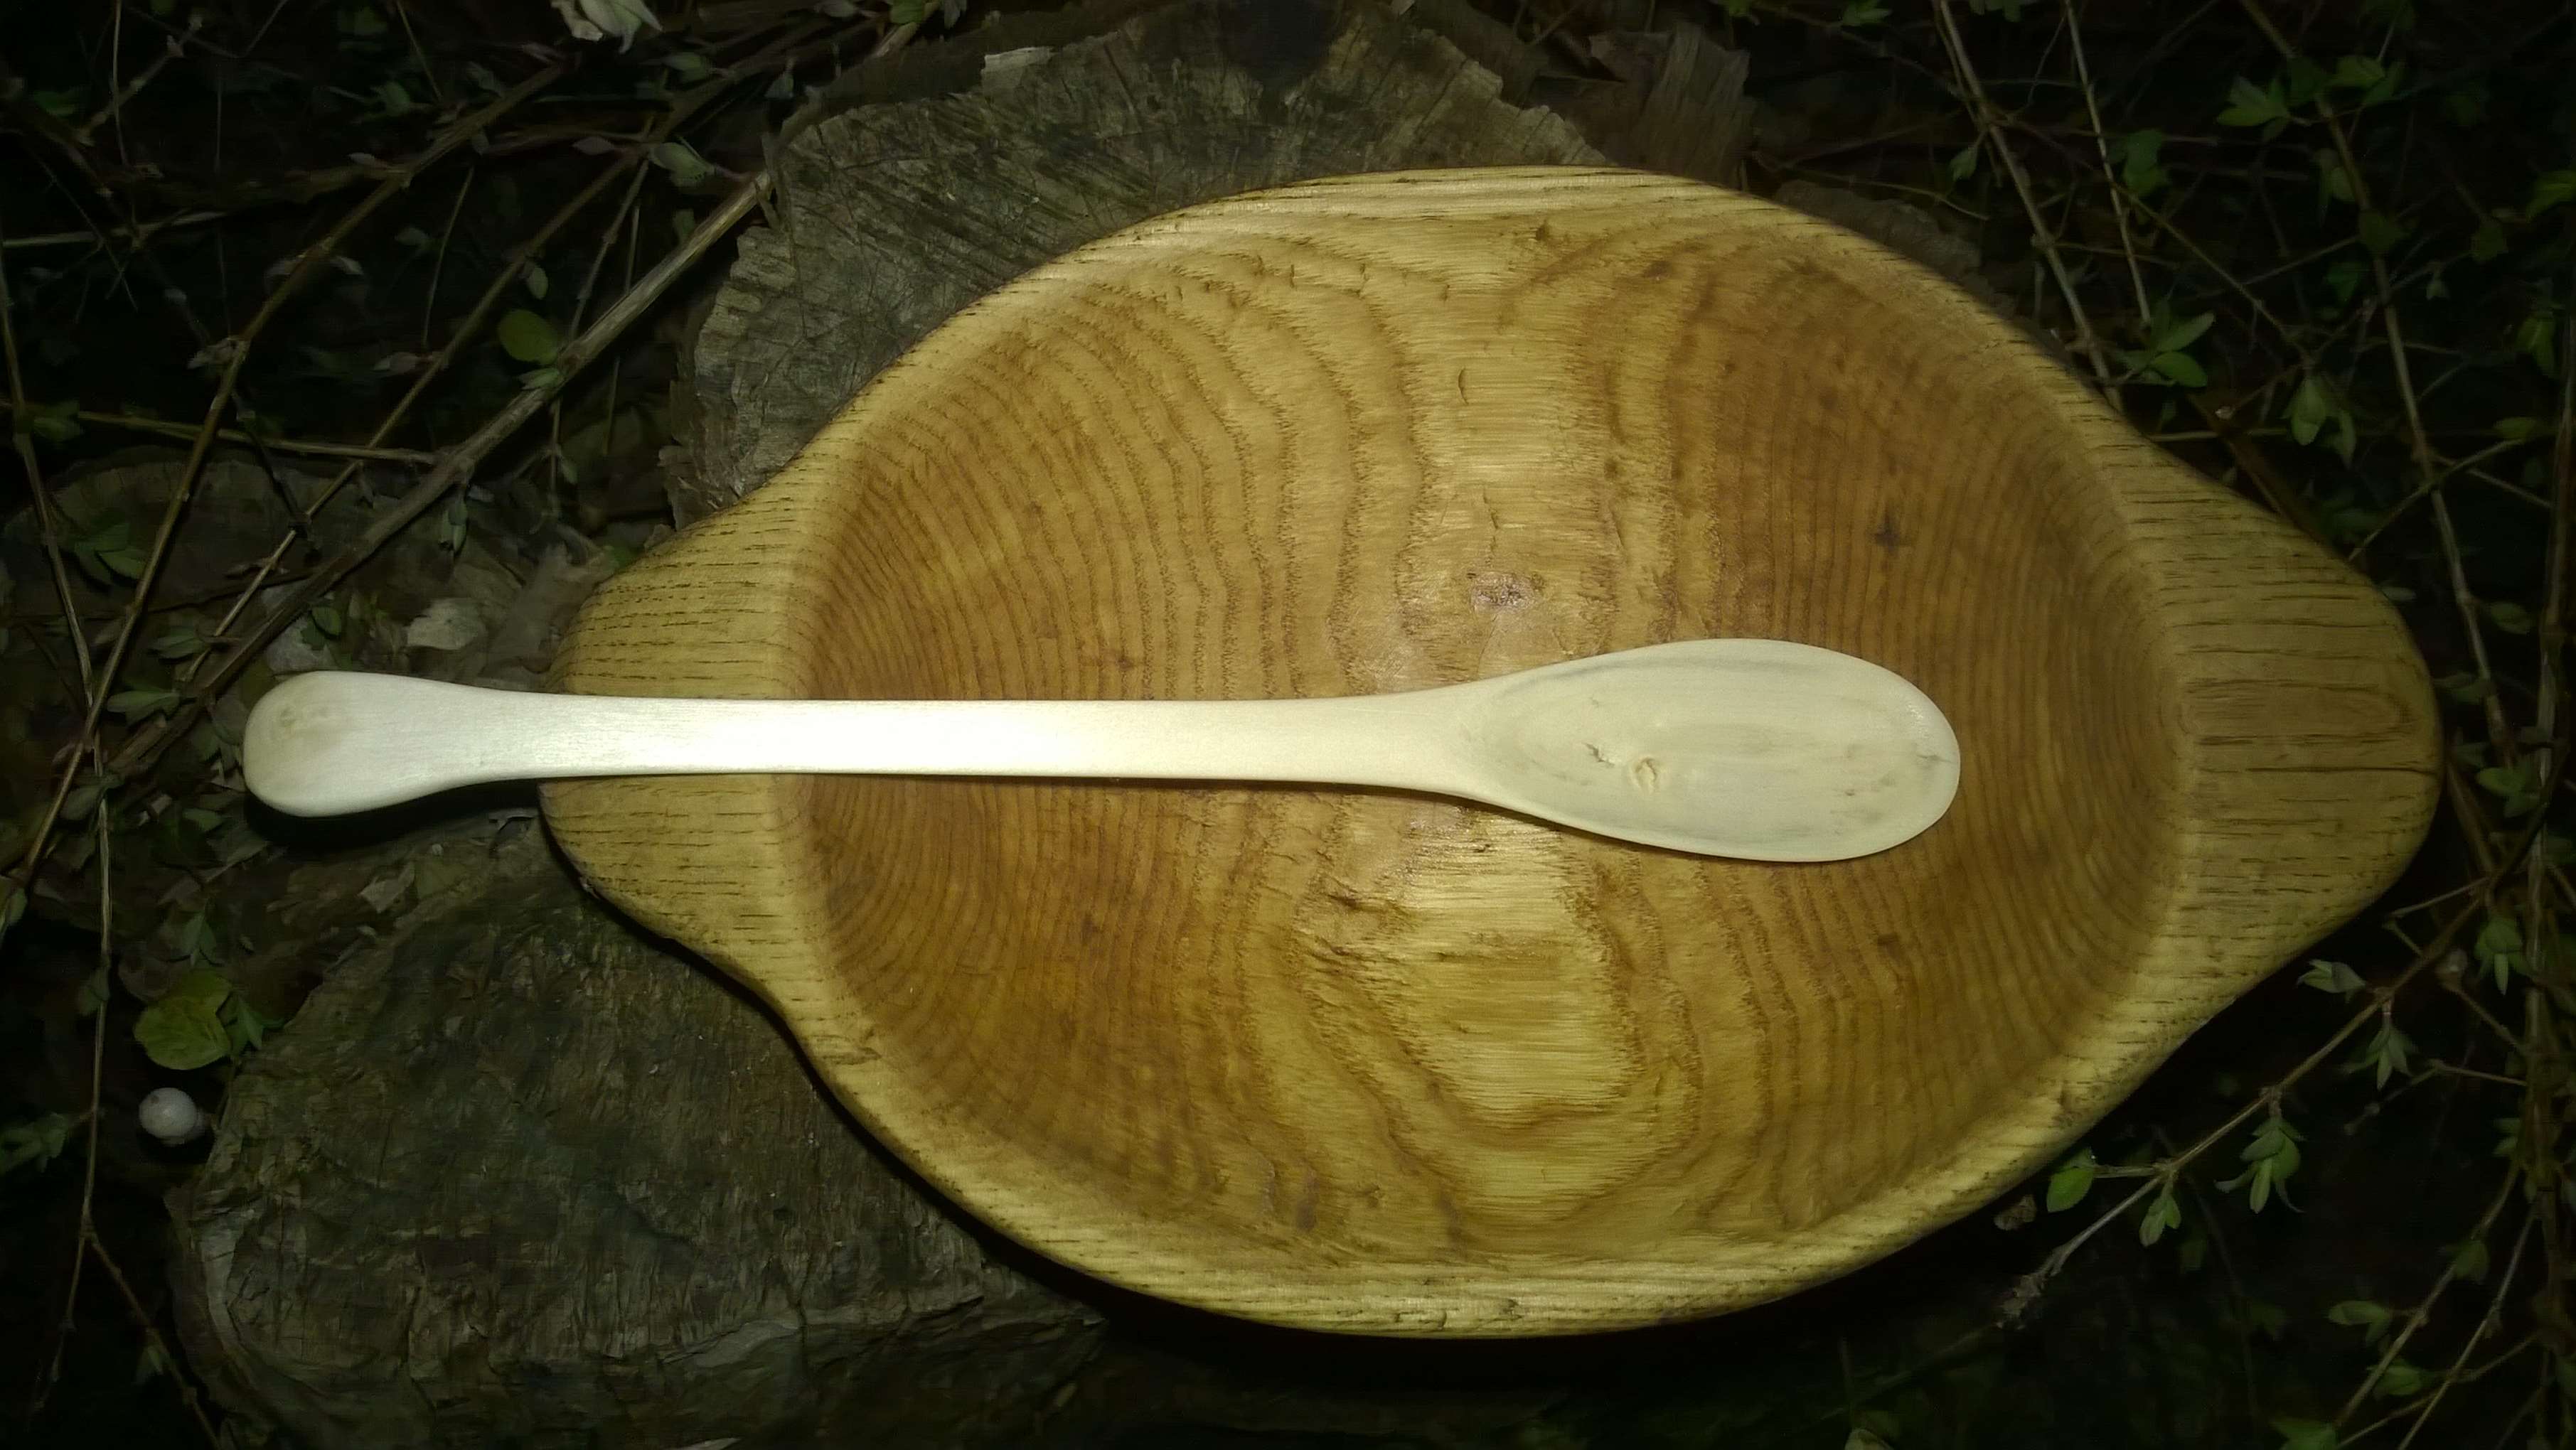
The different profiles of the spoon.
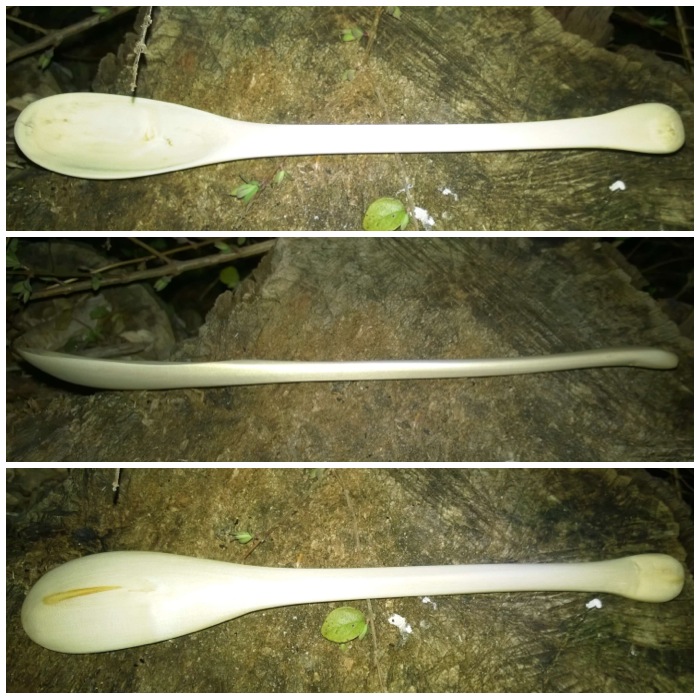
Ready to go.
Have a go and try out some of these different cutting techniques.
Cheers
George
George
very good and I took away a little knowledge, always a good thing.
Do you always go camping with this much gear, the amount and variety was aw inspiring . enjoyed it thank you